Understanding and navigating
Before I started using Photoshop I first learned where useful tools are and how to use them in a faster and more efficient way such as zooming into images changing the colour quickly using the eraser and moving around while zoomed in.
Using tools
In Photoshop there is a feature called tour which helps the user understand and use tools by allowing them to alternate an already put together image using tools such as the healing tool, erasing and moving tool.
Testing what we learned
Using an image of the cartoon character Homer Simpson we had to change him using multiple different tools and the ways that I used the tools, I changed the multiple Homer’s in a way to make it seem as if each one came from an alternate dimension not only testing the tools and the things that I learned for Photoshop but I also created an image with a bit of a story.
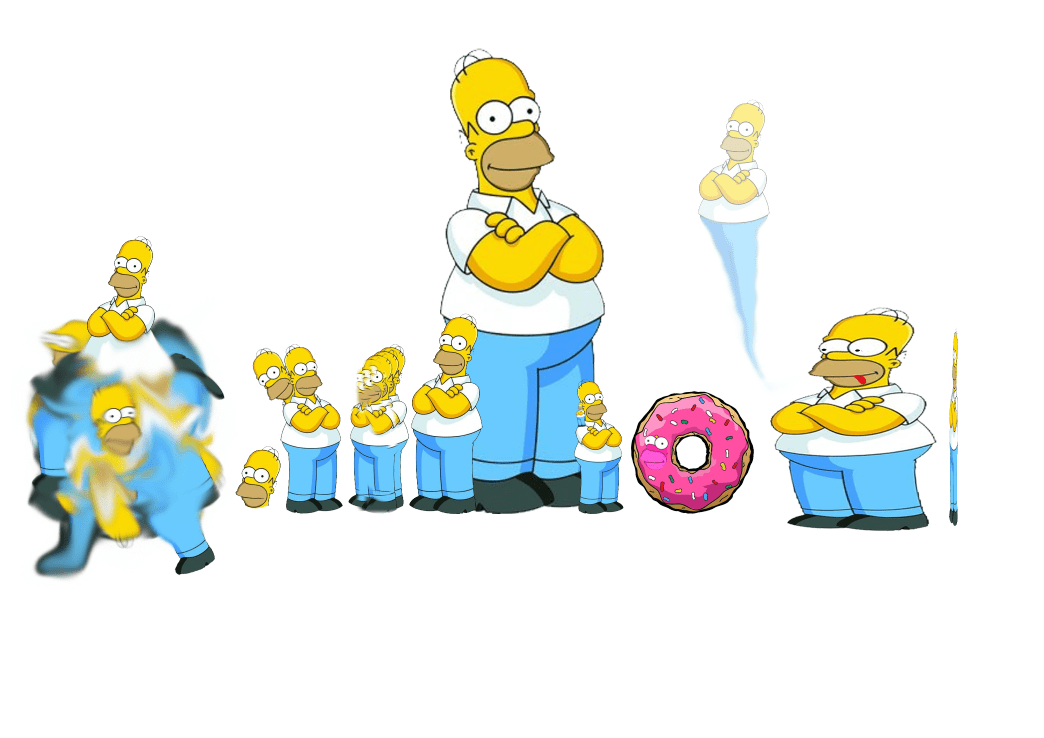
satire: parody/jokingly making fun of something
Spot healing brush tool
Is used to remove unwanted marks can be used for faces to remove spots and marks primarily used in magazines to make people look better it can also be used to remove other things from images such as objects, animals and people although you do need to be careful how you use it because it can mess up the image by merging and blurring.


Presentation

We create superheroes with powers based o what would be the opposite of yourself for example if you aren’t a confident person you superheroes powers would be something to do with confidence we had to create our superheroes in a group create a group name and then present it to the class as a group taking turns to present our superheroes I think the presentation went well although I did
Photoshop colour correction
Colour correction is a process used in stage lighting, photography, television, cinematography, and other disciplines, which uses color gels, or filters, to alter the overall color of the light.
Here is an example I did in Photoshop:
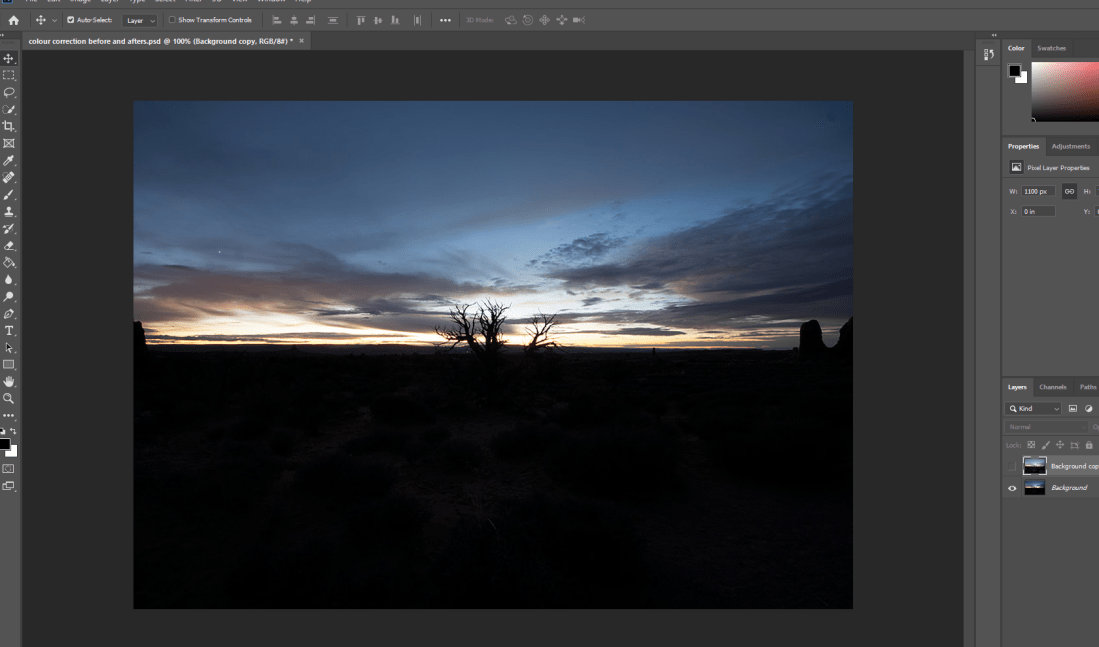
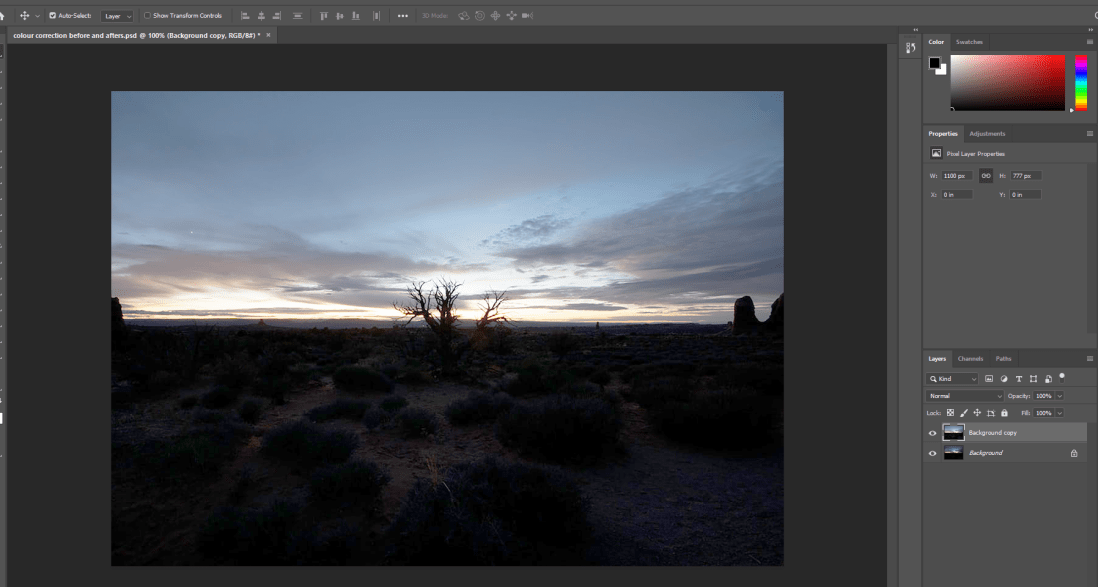
As you can see I have made so that the image can be seen more clearly and is much brighter as the image was much darker before hand.
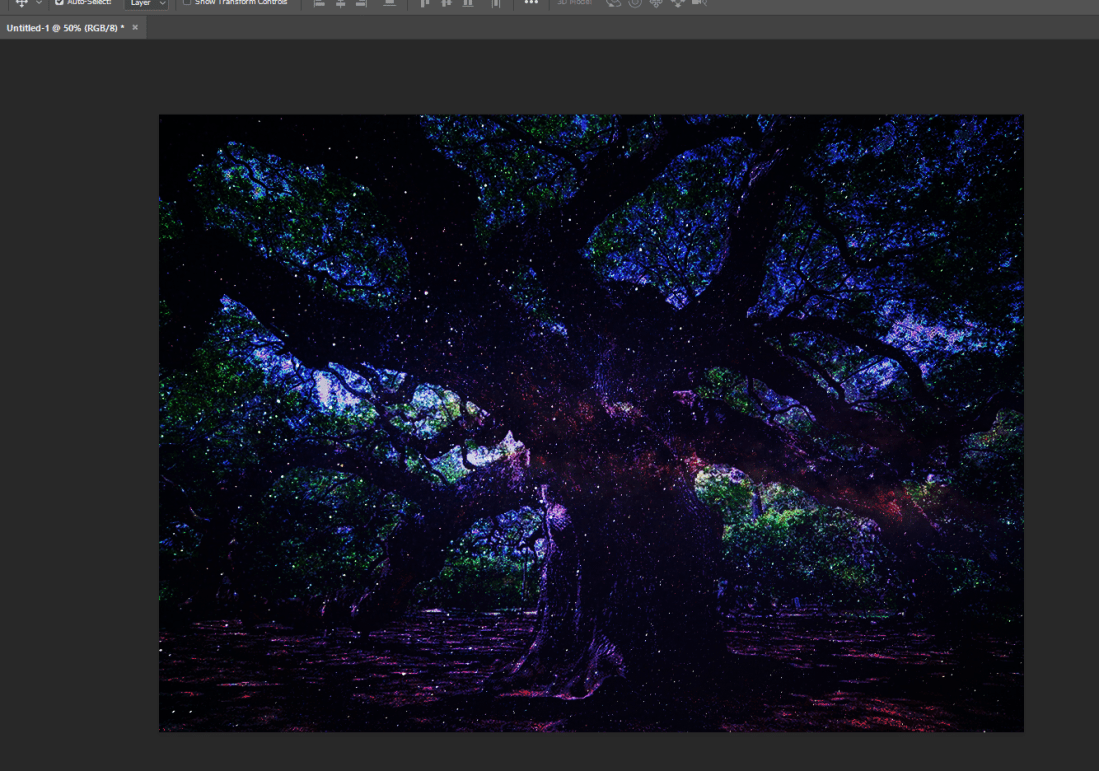
Blending modes
How I used the blending modes, first I started of by getting two images both as a separate layer and put one on top of the other covering the image beneath then by using the blending modes, which was (vivid light) that I used, I was able to mix the image at the bottom to the image at the top creating a blend of the two images into essentially a new image and by changing the opacity of the layer on top I was able to customize a bit more and tweak it to make the image more desirable because they are still two separate layers.
Here is an example of the images I blended
Before:


After:
After affects
pal, wide screen, square pixels 25 fps(frames per seconds)
Fractal
a cure or geometrical figure each part of which has the same character as the whole they useful for modeling structures in which a similar pattern appear progressive small scales.
In-order for an affect to work in after affects it needs to be attach to a layer
