Evaluation on my 6 days project

What did I set out to achieve? Doing this project I was able to pretty much create what I imagined by creating a big model that looks somewhat like Godzilla and was a able to animate and import it into unreal engine successfully.

Did I achieve my aims? I did achieve my aims even though I’m not that good at animating my models I was still able to do so and import it into unreal.

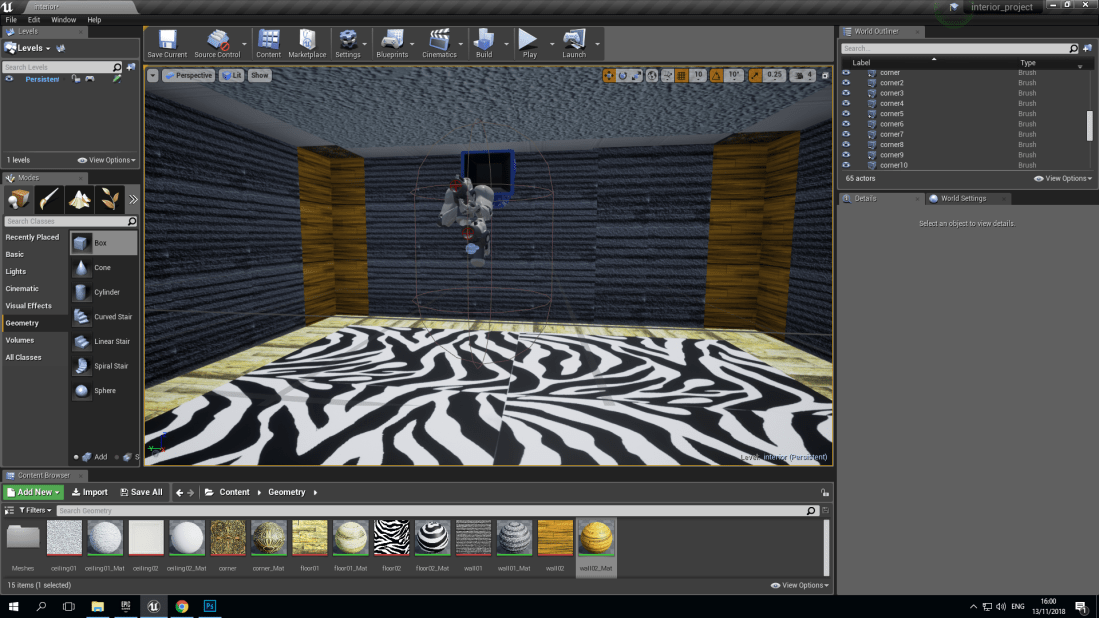
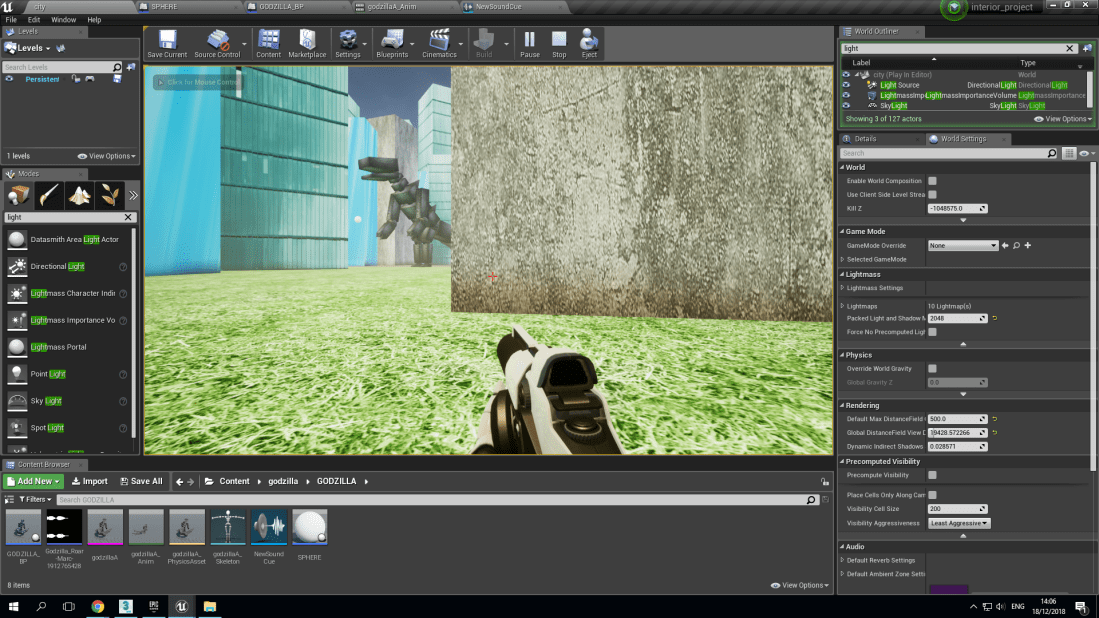
What went well during Production? I was able to create my model without any problems, animate it with little to no issue and create my environment with ease I was able to also add some sound to my project and overall was able to apply a lot of things that I have learned.

What didn’t go well during Production? I feel like I could have added more and I wanted to add more but I also planed to make my model knock over the buildings in my environment but I wasn’t able to which was one of my aims.

What have I learnt during the project that will help me next time? I have a better understanding on animating I feel much more comfortable with creating models in 3DS max and learnt from this project that if you put your mind to it you can create almost anything.

Updated animation and creating my environment

screenshot (34)
As you can see I placed my model in the city I created and added texture to it.

Screenshot (32)

This is the environment I made each one of the buildings has physics on so when I put the model in it will hopefully knock over the buildings making it seem like it is destroying the city.Screenshot (33)  
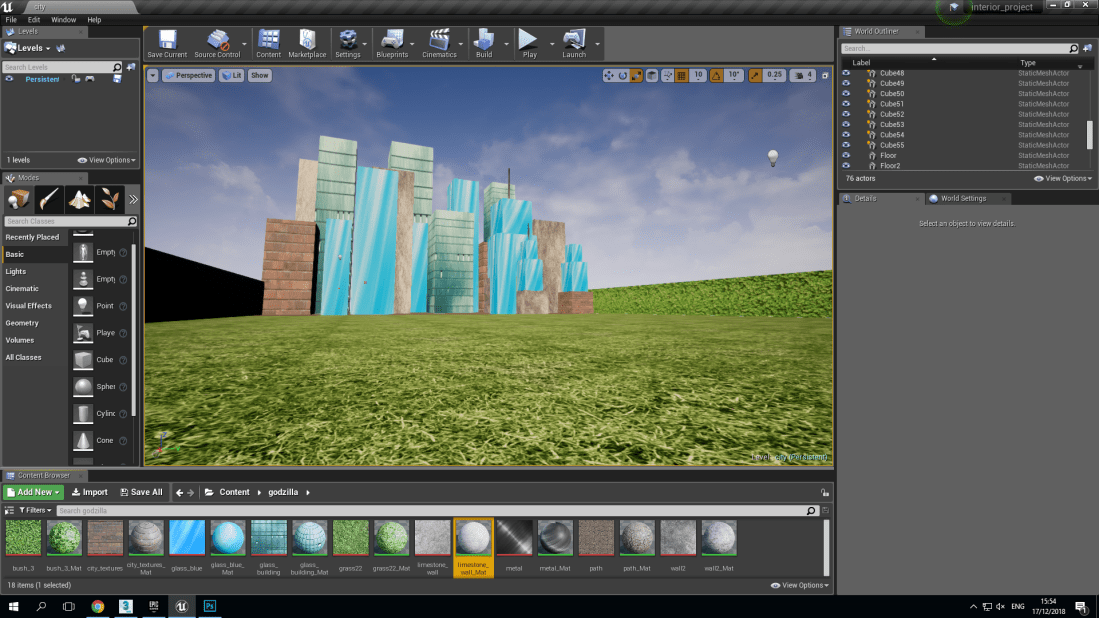
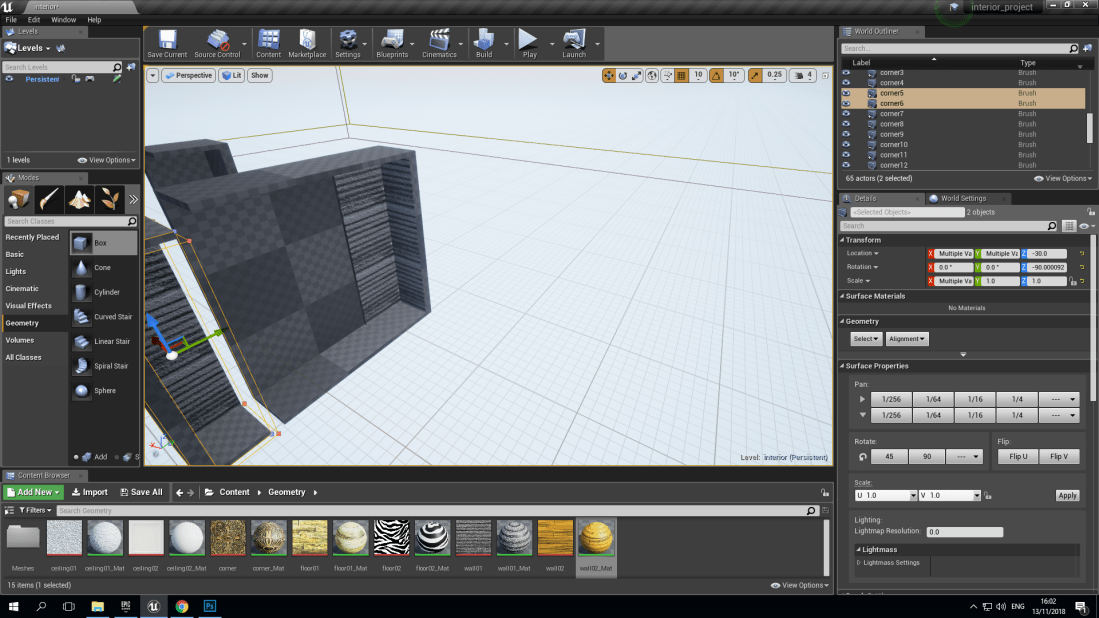
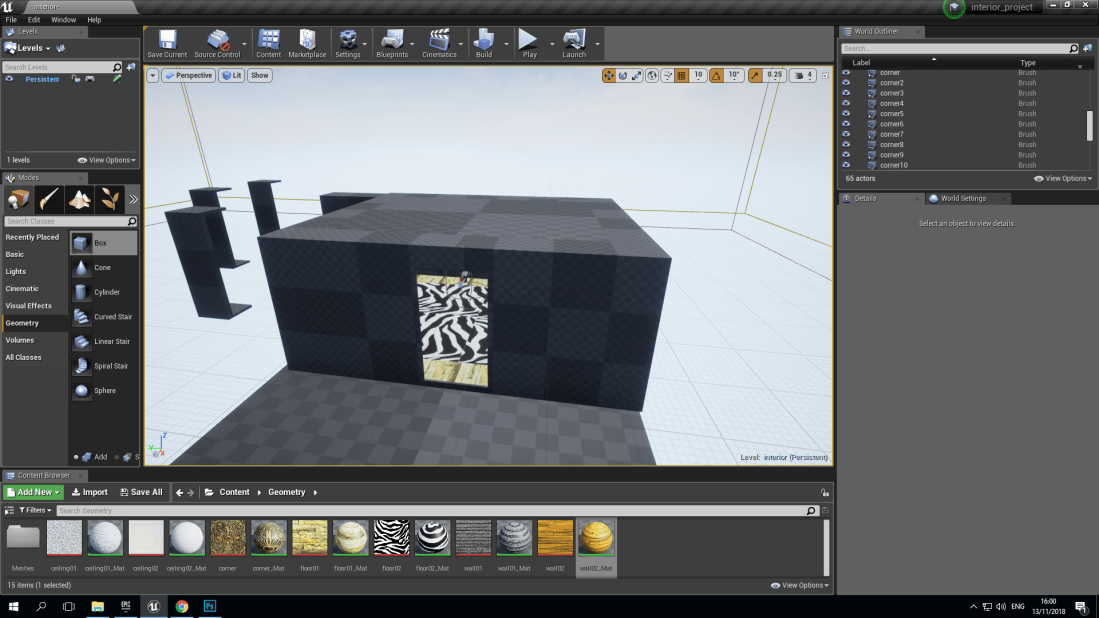
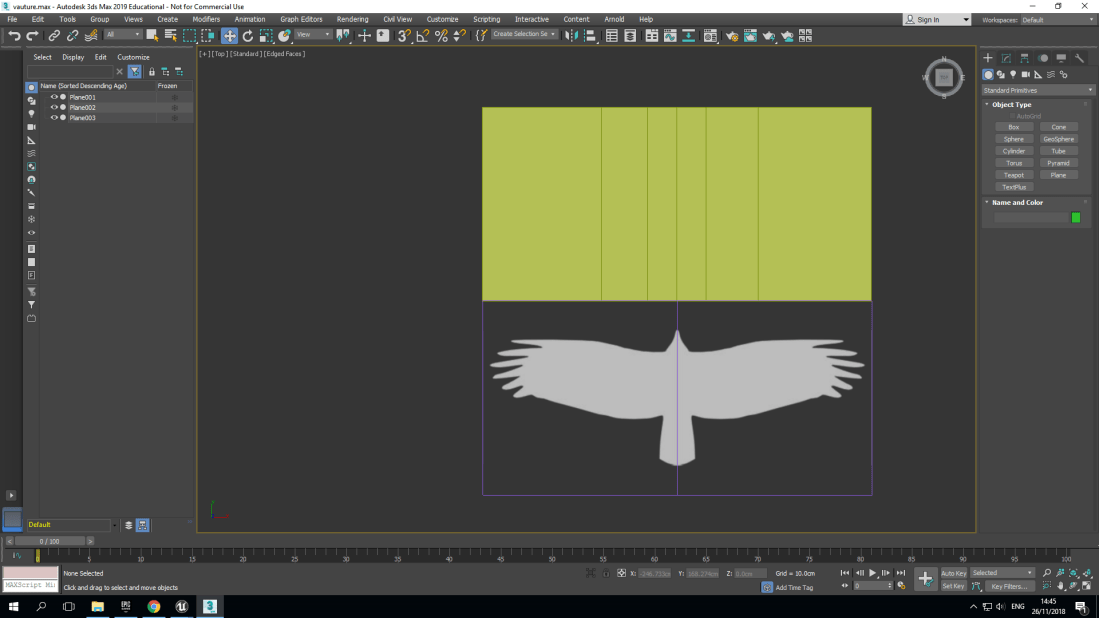
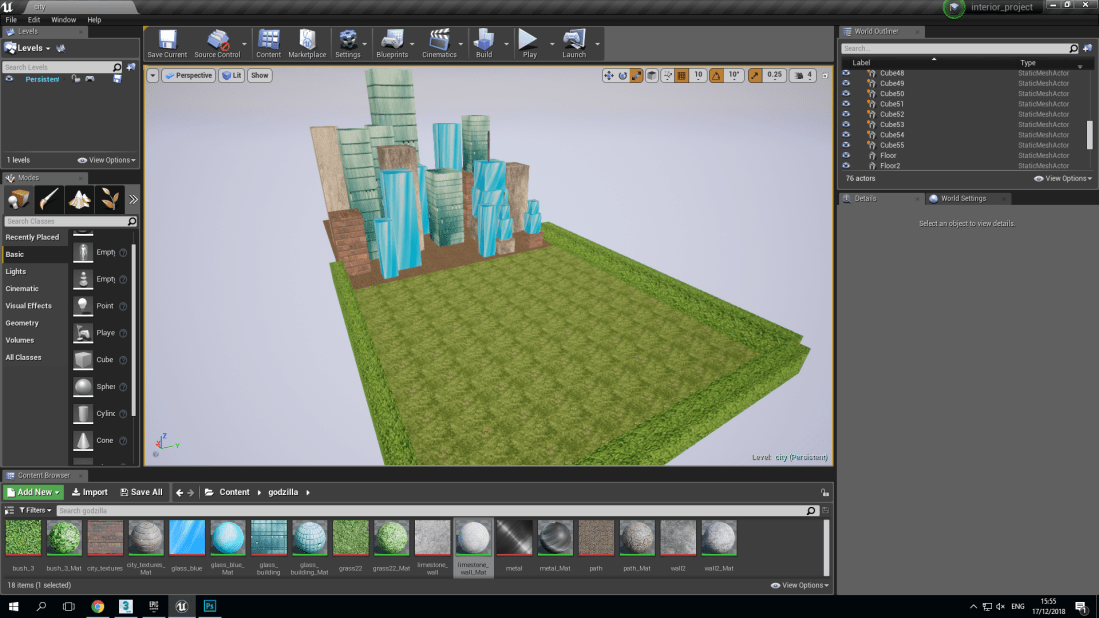
I used textures to make the shapes look more building like.
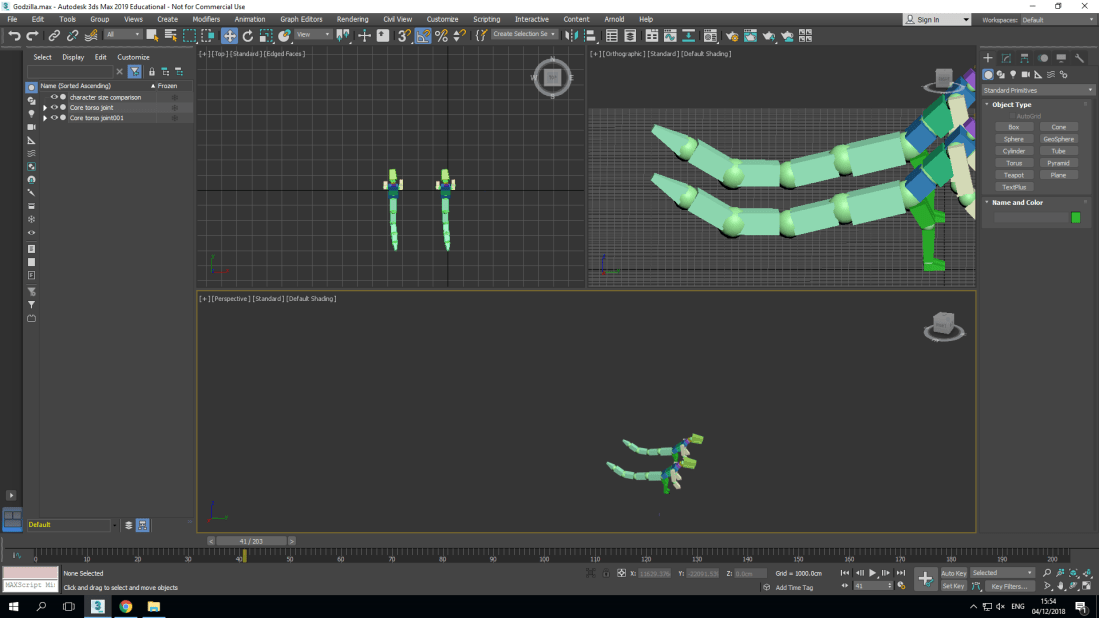
beginning to make a vulture and it’s sound

Opacity                                              Diffuse

Whilst creating my vulture I had to create two shapes called plane which is essentially paper in 3DS max to which I had to scale one 200 by 100 and the other to 100 by 100 the smaller one was used for the wing once I had downloaded it and then I paste the wing on the smaller plane shape turned on diffuse in the map option and then the opacity to make the background see-through and then I duplicated and mirrored it to get a whole vulture once I did that I used the other plane shape to divide the vulture into sections.


Screenshot (22)
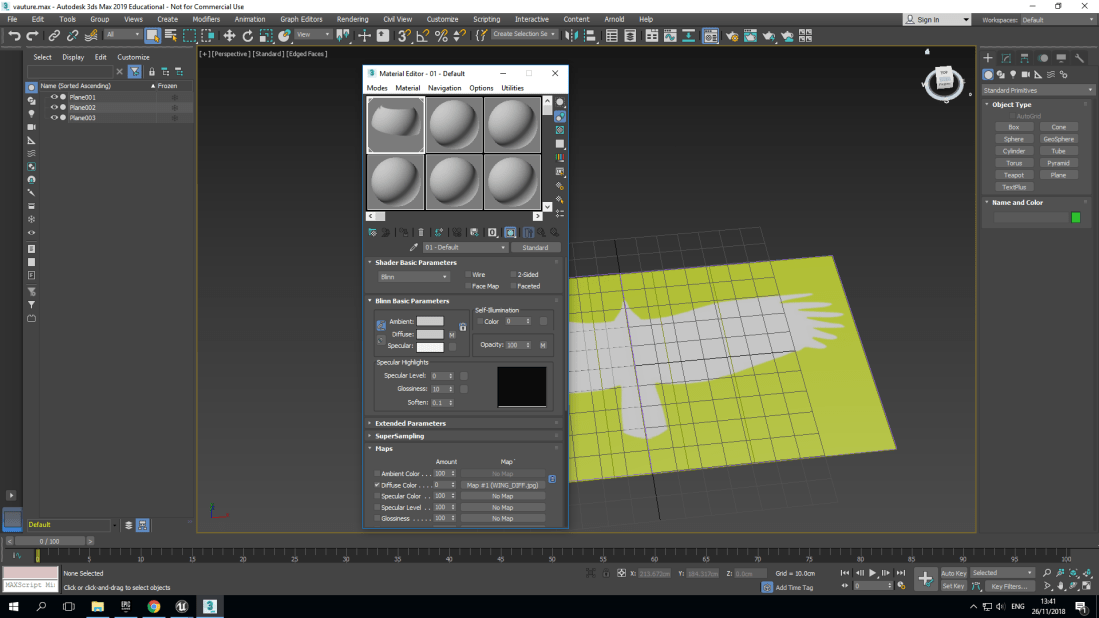
This is the materials that allowed me to alter turn on the diffuse and opacity.

Screenshot (21)

The green colour is the bigger plane shape that I used to divide the vulture into sections.

Screenshot (23)
The vulture is two separate wings put together to make one vulture
Screenshot (20)
Sound

I have already started to make the sound of the vulture I have two different sounds for the vulture


Report

Is the pursuit of realism a positive or negative aim in game design?

I personally think that it is a good thing that games are becoming more and more realistic I think it shows how much games are advancing and how much they are improving I don’t believe the most realistic of games are going to be the future of gaming but it most definitely plays a big role in the evolution of gaming. I don’t believe that the more realistic the game is the more fun it is because the visuals isn’t the only important thing when it comes to games, games are a lot like movies it’s not just how good the visuals look or how amazing the action scenes are when it comes to games and movies the story is one of the most important things but sound also plays a huge role in enhancing the experience I believe the more realistic a game is the more easier it is to immerse yourself in the game.

Fixing, improving and animating my character model


Screenshot (18)
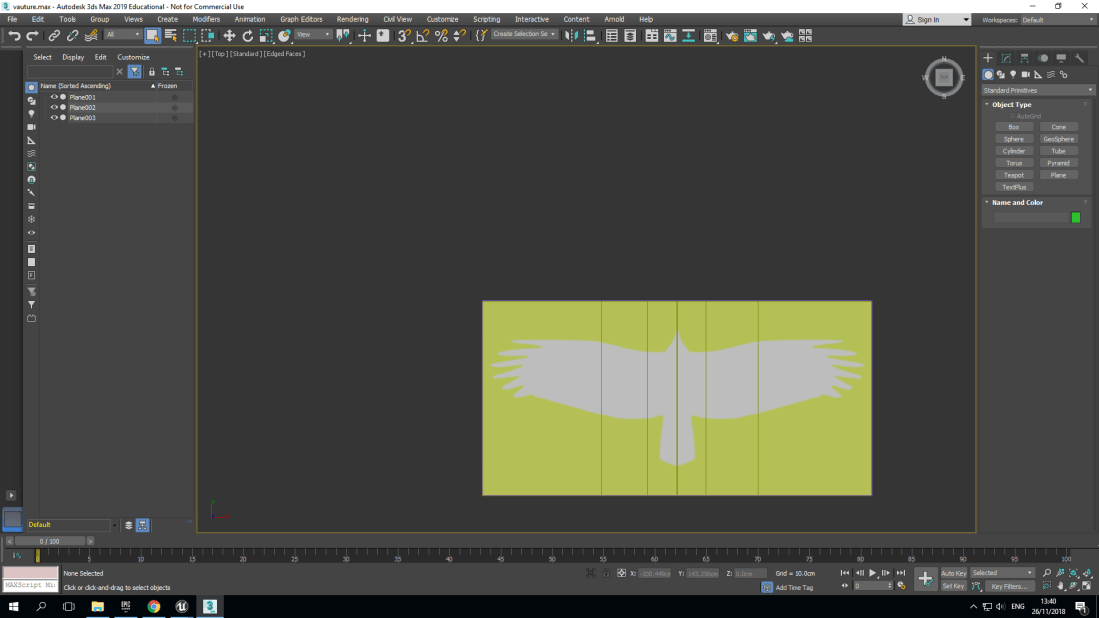
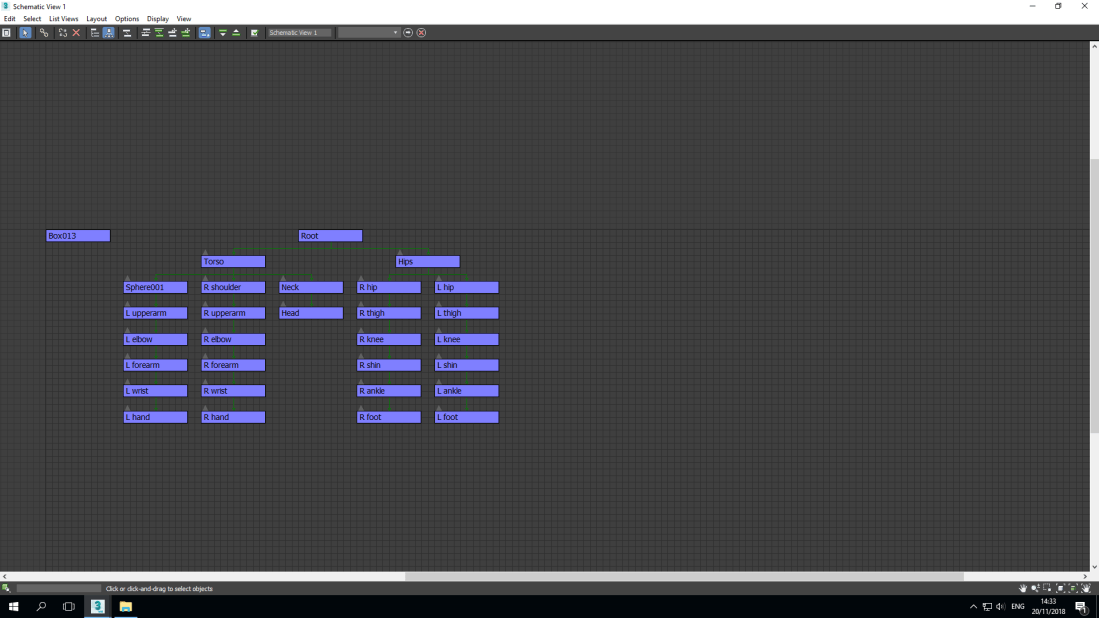
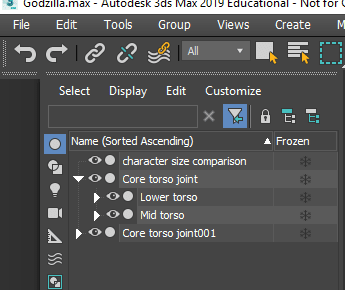
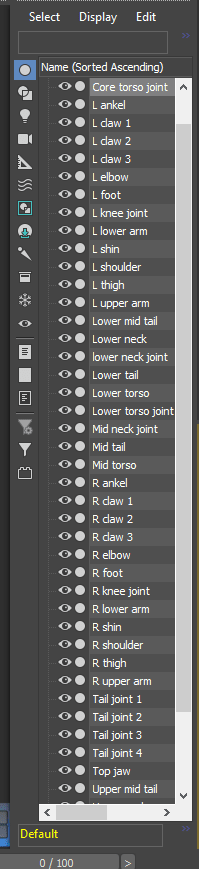
Unfortunately I did have some trouble with my previous model which lead me to making a new model which did have a few issues whilst I was creating the links  but was sorted out and fixed in the end and is now linked and working.

Screenshot (19)
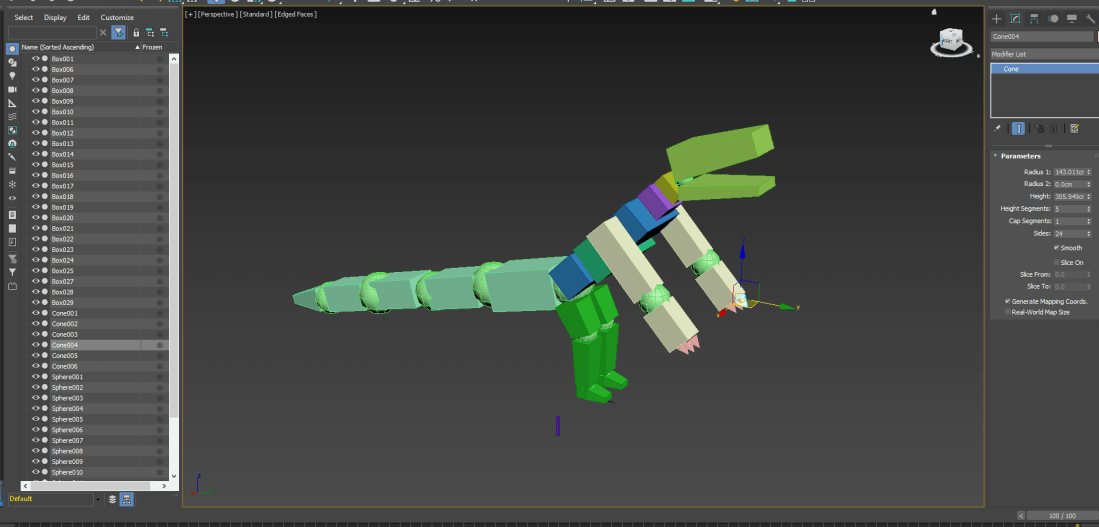
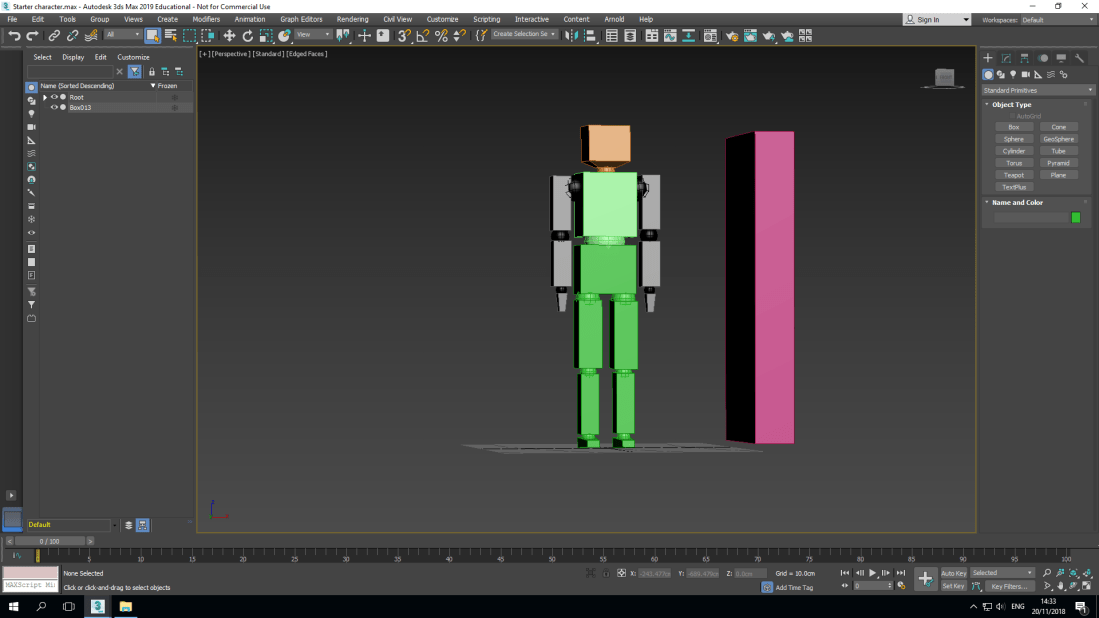
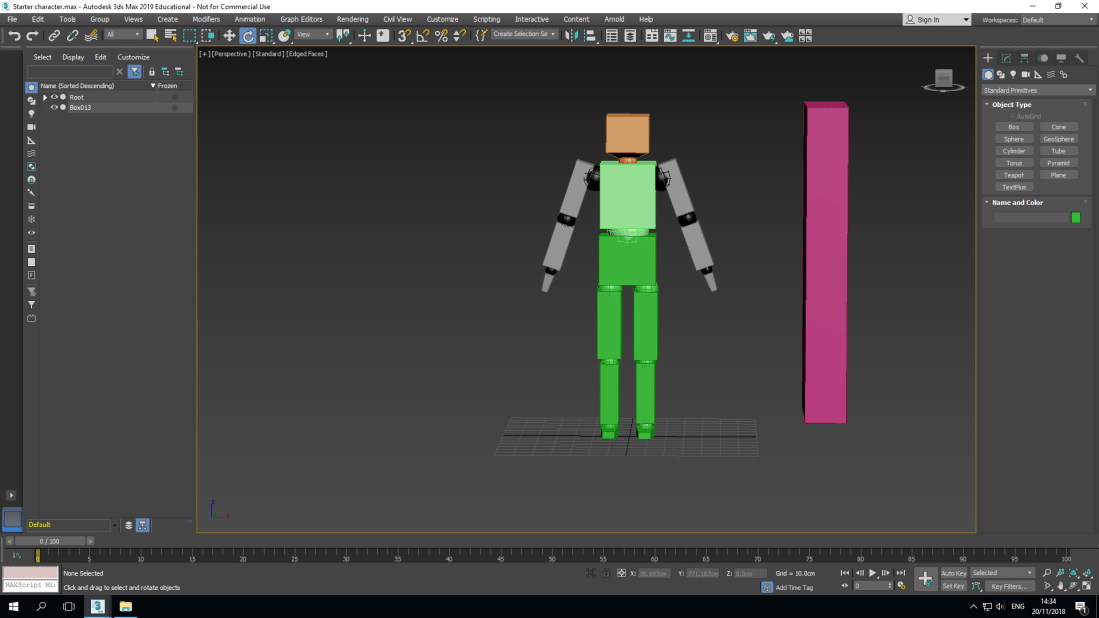
Here is a screenshot of my model in a different pose which made possible due to the different parts of the model being linked which allowed me to change the rotation of the arms, legs, head, wrist, foot and shin.

Screenshot (17)
Schematic

The schematic shows all the different shapes that are named individually and shows how they are connected to each other and can be used to highlight the actual piece when clicked on if you have both screens opened.

Making character model

Screenshot (16)
Making a character model

using different shapes such as cubes, rectangles and spheres I made a humanoid character model.

Screenshot (16)

For each individual shape I had given it a name of the section of the human body that it resembles or is in the same area such as leg, head, arm, wrist and neck and I also put either L or R for the body parts where there are more than one like L leg or R leg.


The progress of my interior

Screenshot (14)
My textures

The internet was working today so I could finally finish getting my textures and adjusting them so I can apply them to my interior once I had finished putting the models together.

Screenshot (13)
Beginning to put my interior together

Once I had gathered the textures and changed them I started to put the models that I had already made together to create my interior using box brush and scaling the geometry boxes to the correct size.

Screenshot (12)
Completing the interior

Here is a screenshot of my room with interior carved so that you can walk around in.

#

Screenshot (11)
Adding the textures 

Here is my finished interior with the textures added to all surface in it.